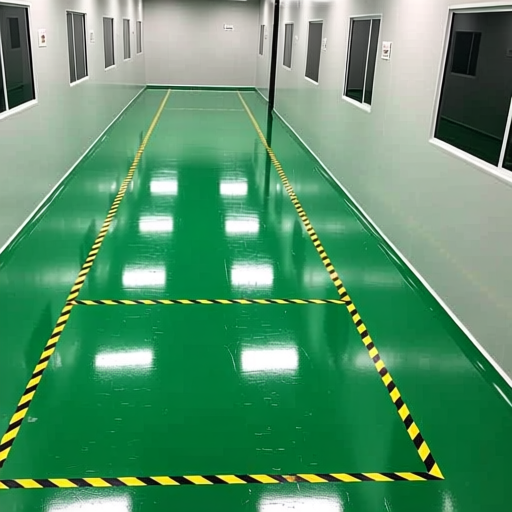
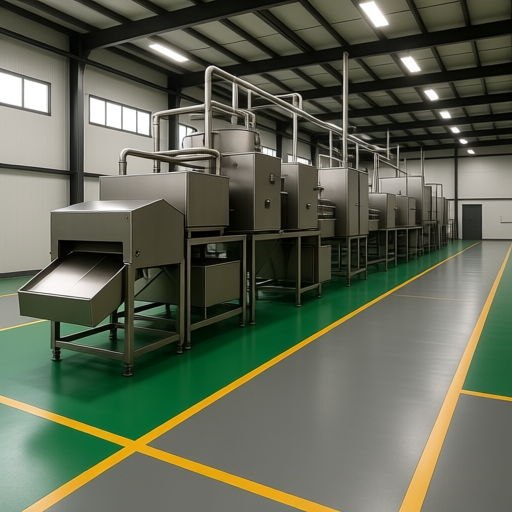
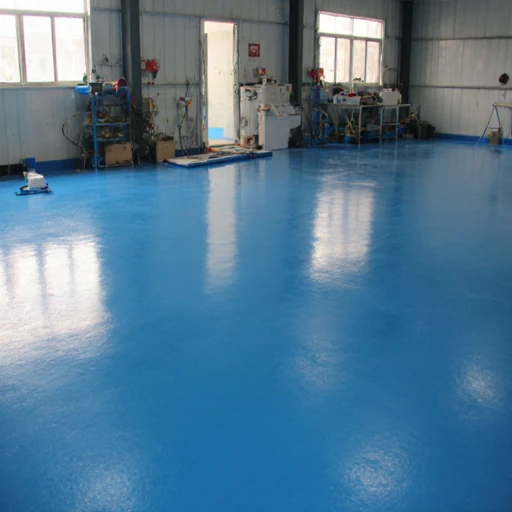
"Why does the same brand of flooring material look brand new after ten years in other facilities, while ours peels, cracks, and fades in less than three?" Many owners, looking at the flawless new floor during acceptance, often fail to realize that the root of various future "premature aging" issues likely lies in the first few hours of construction—in the overlooked details of temperature, humidity, and substrate preparation. Polyurethane and epoxy floors, serving as the "skin" of industrial and commercial spaces, achieve their exceptional wear resistance, load-bearing capacity, and aesthetics through far more than simple "application." It is a precise chemical and physical reaction, where environment and foundation act as the "silent directors" determining its success or failure.
The curing of floor coatings is essentially a precise chemical reaction process. Temperature and humidity directly control the rate of this reaction and the integrity of the final molecular structure.
Temperature: The Catalyst and Dormancy Switch
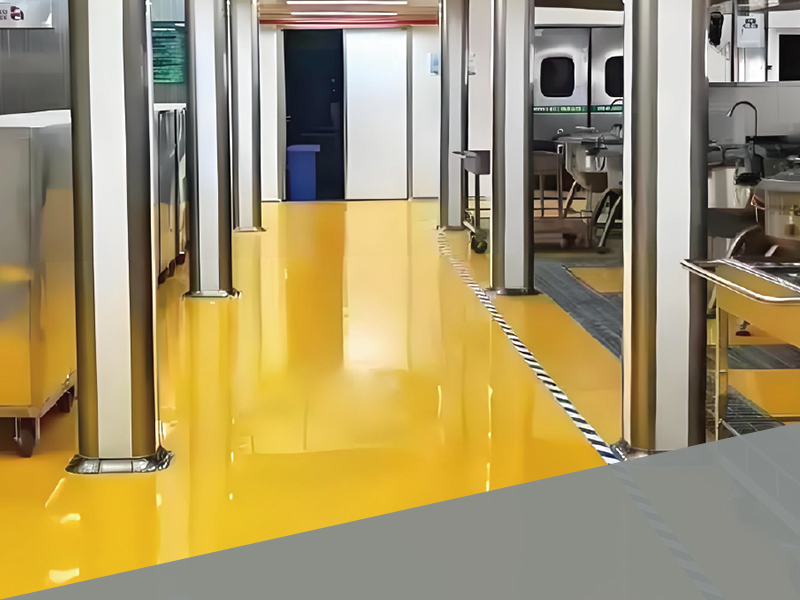
Polyurethane Flooring: The optimal application temperature is typically between 15°C - 30°C. Excessively low temperatures (e.g., below 10°C) drastically slow the reaction rate, increase coating viscosity, impair leveling, leading to difficult film formation and incomplete curing. This results in hardness and adhesion failing to meet design specifications. Excessively high temperatures cause overly rapid reaction, not only shortening the workable time ("pot life") but also potentially causing surface defects like orange peel, pinholing, or even blistering due to rapid surface skinning trapping solvents inside.
Epoxy Flooring: Similarly sensitive to temperature, the ideal range is 10°C - 35°C. At low temperatures, the viscosity of epoxy resin and hardener increases, making mixing difficult and penetration into the substrate poor, easily resulting in a tacky, uncured film. High temperatures significantly shorten the pot life, potentially causing the material to begin curing before application is complete, leading to waste and compromised quality.
Humidity: The Invisible "Adhesion Killer"
For both polyurethane and epoxy, the recommended air relative humidity during application is not higher than 75%, and the substrate moisture content must be below the requirement (typically below 8% for epoxy, below 5% for polyurethane). High humidity is a major enemy of floor installation:
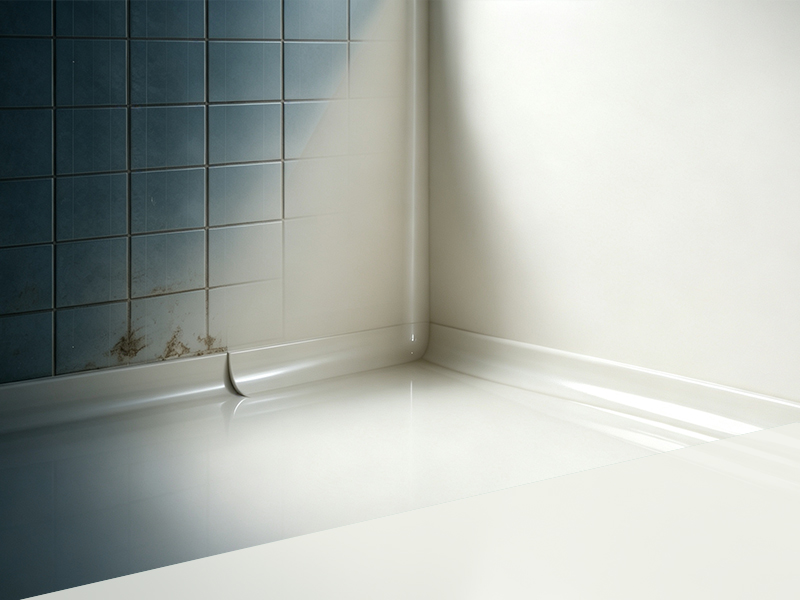
Condensation Risk: When the ambient temperature falls below the dew point, moisture condenses on the colder substrate, forming a barely visible thin film of water. Applying coating over this is like painting on plastic—adhesion is fundamentally compromised, inevitably leading to later blistering and delamination.
Curing Interference: Especially for amine-cured epoxy floors, moisture can react with the hardener in a side reaction, forming ammonium carbonate. This causes whitening ("amine blush"), loss of gloss, and degraded performance on the film surface.
Micro-Bubble Proliferation: Heat generated during the coating's curing reaction can evaporate underlying moisture, creating dense micro-bubbles within the film, severely affecting its density and strength.
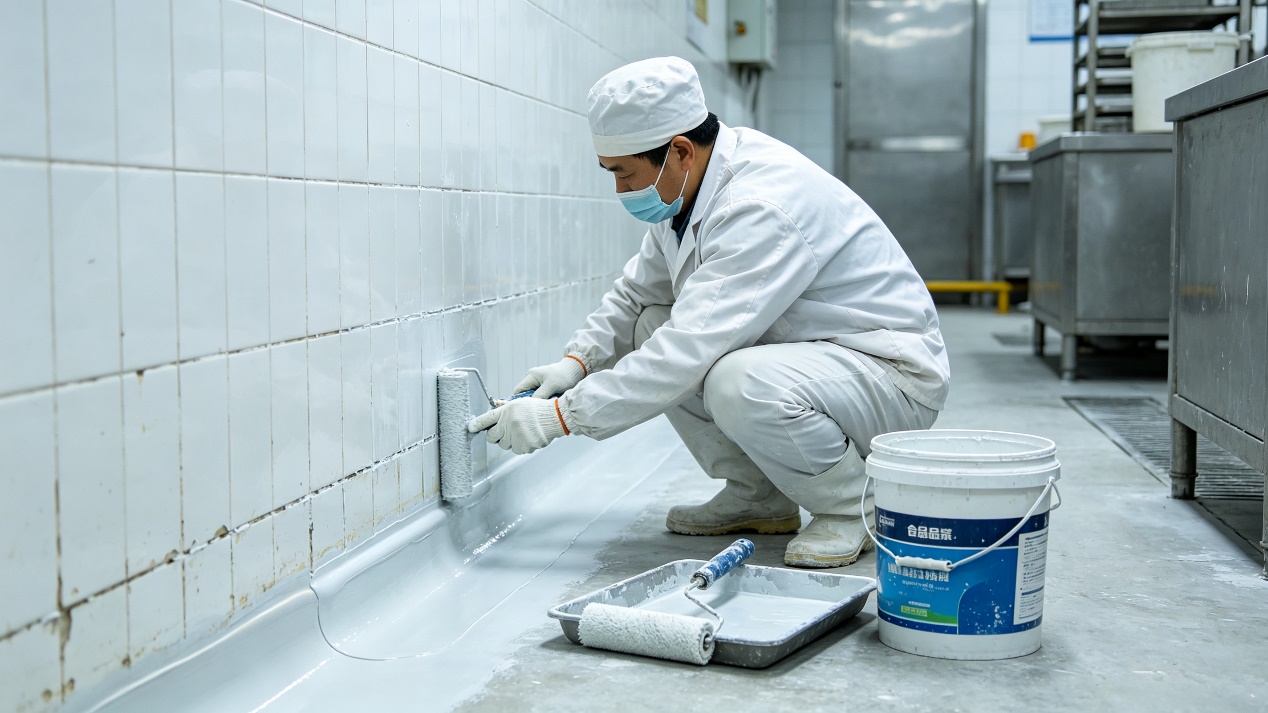
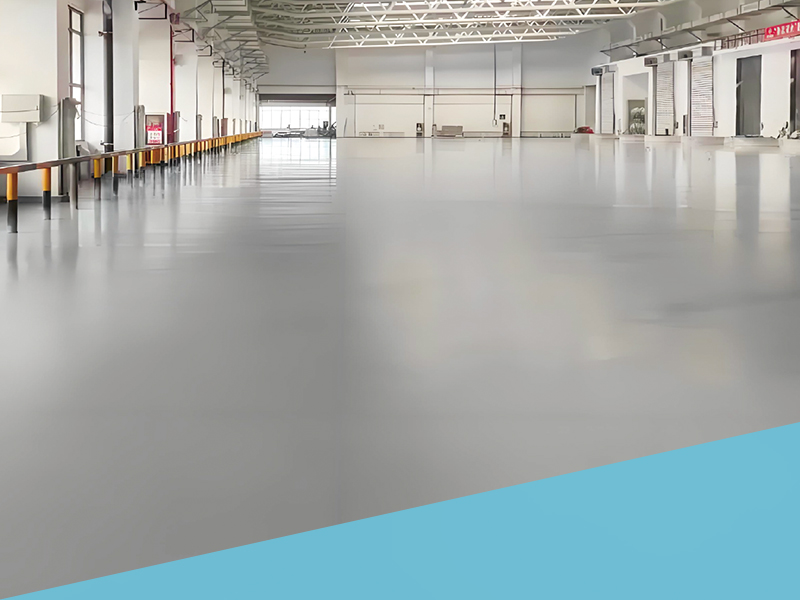
If environmental conditions are the "right timing," then substrate preparation is the "right location." On an unqualified foundation, even the best material cannot perform. The industry often says, "Seventy percent depends on installation, thirty percent on the material," with substrate preparation constituting the vast majority of the installation's importance.
The Gold Standard for Concrete Substrates:
Strength and Density: The base concrete should have a compressive strength of at least C25, with no dusting, looseness, or laitance on the surface. A loose surface is like sand, unable to provide a firm grip.
Flatness: Check with a 2-meter straightedge; gaps should not exceed 3mm. An uneven substrate causes material pooling or bare spots, affecting overall aesthetics and performance, especially for thin-film floors.
Cleanliness and Dryness: Thoroughly remove all contaminants hindering adhesion: oil, chemical stains, old coatings, curing compounds, etc. Simultaneously, ensure deep-seated moisture meets standards.
Scientific Surface Preparation: For highly smooth or strong substrates, light abrasive blasting or mechanical grinding is recommended. This isn't just for cleaning but to create a uniform, rough micro-surface (increasing surface area), allowing the liquid coating to better penetrate and anchor, achieving ultimate adhesion through both physical and chemical bonding. Simple scarifying may cause uneven points of damage in comparison.
Understanding the general rules, one must also grasp the characteristic differences between the two materials for precise care:
The Flexible Intelligence of Polyurethane Flooring:
More Sensitive to Moisture: Polyurethane materials, especially moisture-curing single-component types, although utilizing atmospheric moisture to react, are extremely sensitive to substrate dampness during initial application. The substrate must be thoroughly dry, otherwise carbon dioxide bubbles easily form.
Strong Temperature Tolerance: Cured polyurethane flooring, due to its flexibility, typically tolerates temperature changes better than epoxy, resisting cracking from thermal expansion and contraction.
Ventilation Management: Post-application ventilation control is necessary to avoid surface defects like loss of gloss caused by excessively fast airflow.
The Rigorous Pursuit of Epoxy Flooring:
Absolute Precision in Mix Ratio: Epoxy resin and hardener must be measured precisely according to the specified ratio and mixed thoroughly. Any deviation leads to improper curing and permanent performance degradation.
Critical Time Window for Intercoat Adhesion: The next coat must be applied within the specific window between the previous coat being "touch-dry" and "fully cured" to ensure optimal interlayer adhesion. Missing this window may result in layers merely "stacked" rather than "welded" together.
Avoid Excessive Thickness: Applying too thick a coat at once, while seeming labor-saving, easily leads to internal heat buildup and excessive shrinkage stress, causing cracking, or trapped solvents leading to blistering.
To ensure your floor remains "youthful," please adhere to the following before and after construction:
Pre-Application Monitoring: Equip a thermometer and hygrometer to monitor environmental conditions continuously for 48 hours, ensuring they meet standards and remain stable.
Substrate Health Check: Use professional instruments (e.g., moisture meter, pull-off adhesion tester) to conduct strict substrate acceptance. Do not proceed with application if standards are not met.
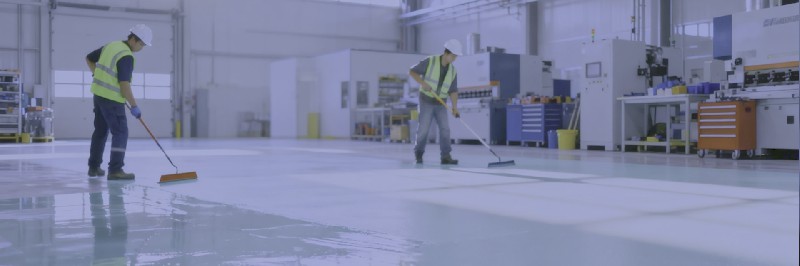
Process Control: Maintain a constant environment during application, avoiding drafts, direct sunlight, and sudden temperature changes.
Curing Period Care: After completion, allow sufficient curing time (typically at least 24-72 hours before light traffic, 7 days before load-bearing). Strictly protect from water, dust, and mechanical impact during this period.
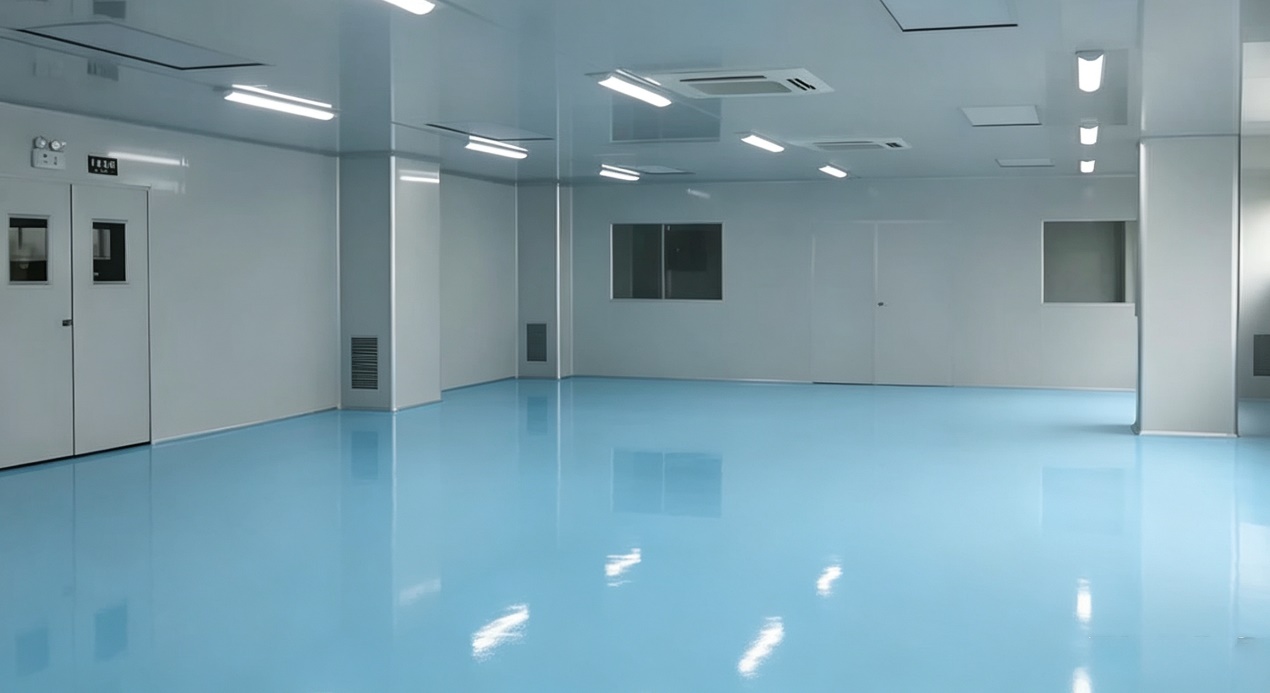
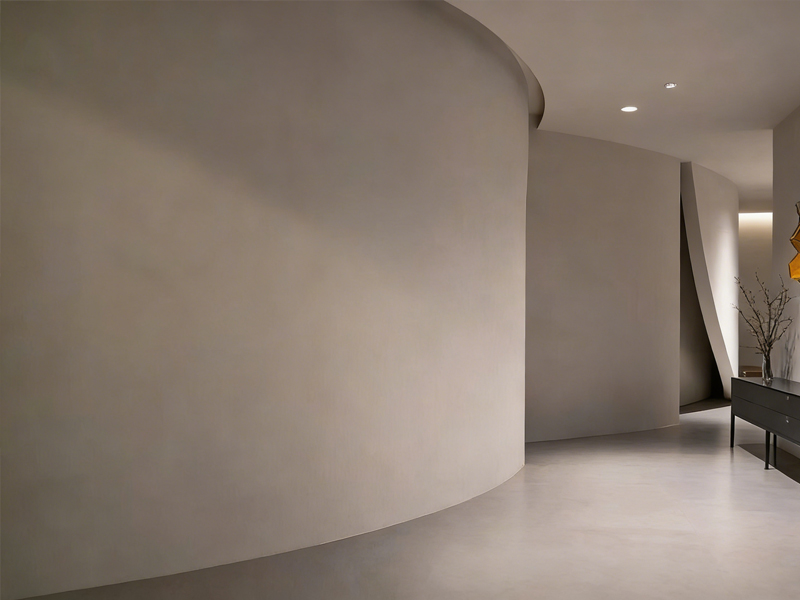
A high-quality floor is a work born from scientific formulation, meticulous craftsmanship, and perfect conditions. It may appear as merely a surface covering, but in reality, it is a solid foundation that bears the weight of a company's operations and concerns safety and image. Investing in strict control over temperature, humidity, and substrate—these "details"—is an investment in decades of worry-free durability and reliability. From the very start of the construction blueprint, prioritize these "silent standards." This is not only about cost but about your peace of mind for the next decade and beyond. After all, truly excellent engineering can withstand the gaze of time and does not require paying a high price for early negligence.


 cn
cn